

|
Total posts: 8382
Last post: Jan 13, 2022 Member since:Feb 7, 2006
|
Cars in Garage: 0
Photos: 0 WorkBench Posts: 0 |
|
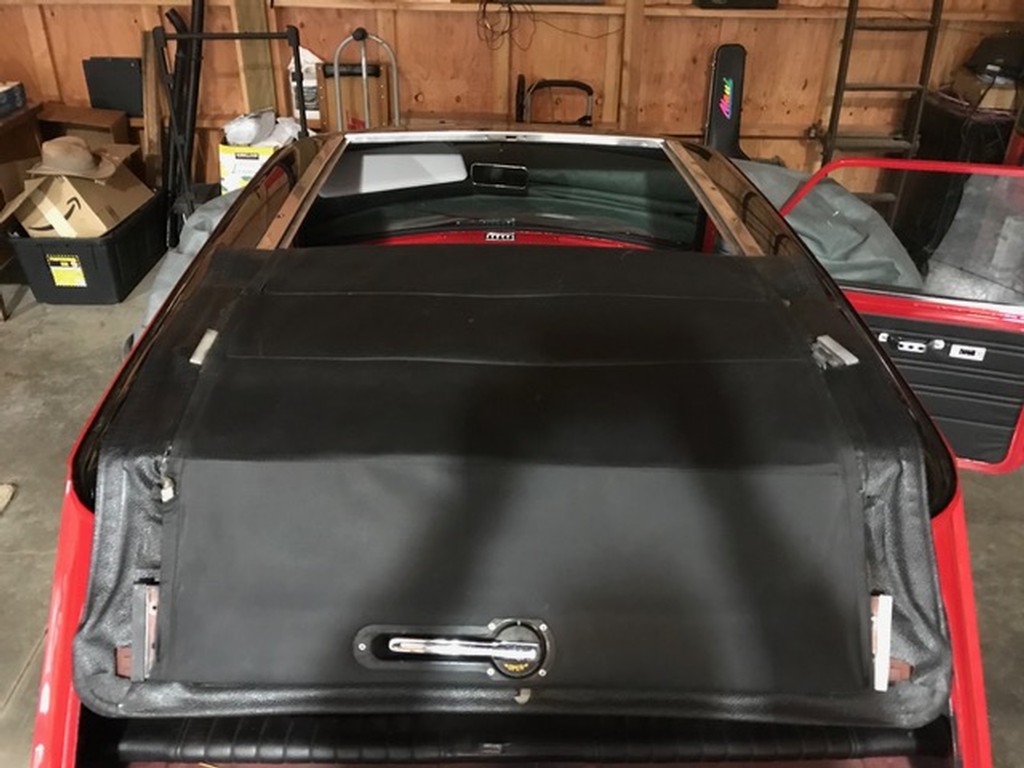
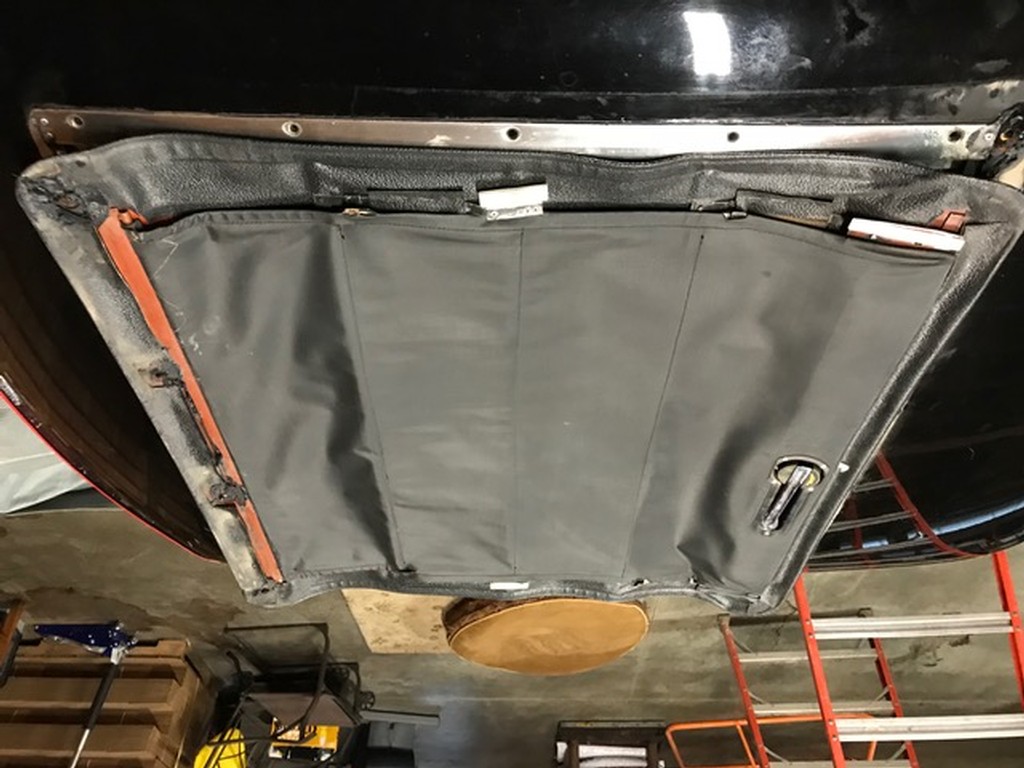
If you have not removed the sunroof frame do so as it is best to wrap it around the edge just the same way the window glass area is fitted.
If in doubt, flat out. Colin Mc Rae MBE 1968-2007.
Give a car more power and it goes faster on the straights,
make a car lighter and it's faster everywhere. Colin Chapman.
|
|
Total posts: 41
Last post: Apr 2, 2024 Member since:Sep 11, 2013
|
Cars in Garage: 0
Photos: 0 WorkBench Posts: 0 |

|
|
Total posts: 8382
Last post: Jan 13, 2022 Member since:Feb 7, 2006
|
Cars in Garage: 0
Photos: 0 WorkBench Posts: 0 |
|
Don't cut the sunroof area out until the headliner is completely fitted. As you are pulling and stretching moving it around to get rid of the wrinkles you need that area to resist the stretching somewhat, the last thing you want is for it to be too short due to having moved the headliner around to fit correctly.
If in doubt, flat out. Colin Mc Rae MBE 1968-2007.
Give a car more power and it goes faster on the straights,
make a car lighter and it's faster everywhere. Colin Chapman.
|
|
Total posts: 41
Last post: Apr 2, 2024 Member since:Sep 11, 2013
|
Cars in Garage: 0
Photos: 0 WorkBench Posts: 0 |
Thanks, I appreciate all the feedback. Have some photos but forgotten how to use the big green button with an iPad, as I recall it’s more PC friendly.
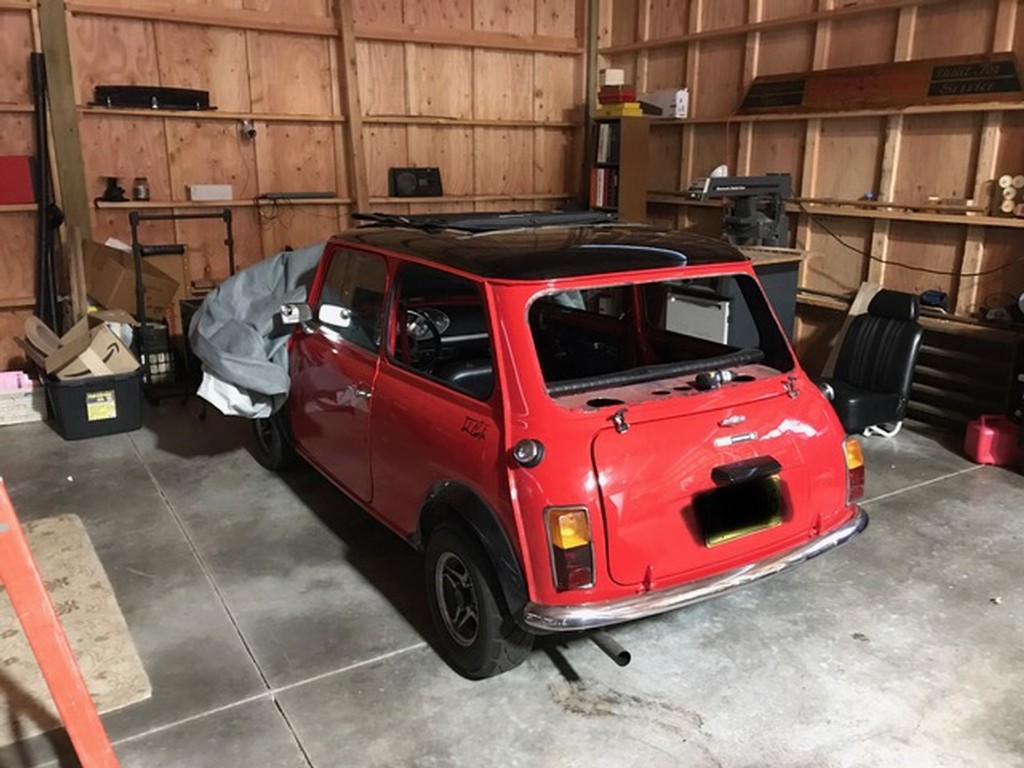
Broke out the headliner I purchased a few years back, it’s grey not black like the rest of the interior trim. Not sure what I was thinking there. Car is black on red. Hmmmmm Gonna be interesting.
Using the standard saloon headliner, the only option of which I’m aware as Masal suggests. Will make the cutout for the sunroof at some point during the install. How that takes place and what gets secured first is the question.
Gonna be raining here forever so I've got lotsa time, hoping for the patience required.
Thanks all, hope to make some progress this weekend!!
|
|
Total posts: 8382
Last post: Jan 13, 2022 Member since:Feb 7, 2006
|
Cars in Garage: 0
Photos: 0 WorkBench Posts: 0 |
|

If in doubt, flat out. Colin Mc Rae MBE 1968-2007.
Give a car more power and it goes faster on the straights,
make a car lighter and it's faster everywhere. Colin Chapman.
|
|
Total posts: 1649
Last post: Jun 22, 2022 Member since:Apr 30, 2009
|
Cars in Garage: 0
Photos: 0 WorkBench Posts: 0 |
|
 The tape i used : Double Sided DUCK TAPE
Amazon = 7.35$
thin= has a blue backing to pull away= strong
is 1.4 wide I know i cut it into half strips for the application.
https://www.amazon.com/Duck-240200-Double-Sided-1-4-Inch-12-Yards/dp/B002O16SHW/ref=sr_1_3?ie=UTF8&qid=1516993411&sr=8-3&keywords=Duct+tape+2+sided
|
|
Total posts: 1007
Last post: Jul 19, 2022 Member since:Jul 24, 2014
|
Cars in Garage: 0
Photos: 0 WorkBench Posts: 0 |
|
|
Total posts: 1649
Last post: Jun 22, 2022 Member since:Apr 30, 2009
|
Cars in Garage: 0
Photos: 0 WorkBench Posts: 0 |
|
Patience
Warm or HOT day
Let it strech = go do something else let it rest + Strech some more.
Last headliner I did = I used a Great Very thin Two Sided Tape for all edges. instead of glue.
No spraying mis sprays anywhere and so far 3 years later its just as good as day 1...
The tape let re postionging go well too =
a helper on both sides is also good for pulling in multiple directions
go ahead and get NEW crossrods.. as old plastic tips like to break under new stress.
Take your time.. Don't trim anything until you're nearly Done.
The corners are the Worst part to tuck = strech= stick etc. along with C pillar covers ( just finkey to fit in all the edges)
|
|
Total posts: 7050
Last post: Apr 10, 2024 Member since:May 23, 2002
|
Cars in Garage: 0
Photos: 0 WorkBench Posts: 0 |
|
"Retired: No Job, No Money, Wife and I! Will travel anywhere for Minis"
|
|
Total posts: 8382
Last post: Jan 13, 2022 Member since:Feb 7, 2006
|
Cars in Garage: 0
Photos: 0 WorkBench Posts: 0 |
|
The one thing you need plenty of (apart from patience) when gluing a headliner around the edges is plenty of clips to hold it in place while you adjust to get the wrinkles out and while it sets up. The best ones i have found are the binder clips which any office supply place sells.
Do not apply too much heat when fitting the corners as the material melts very easily.
If in doubt, flat out. Colin Mc Rae MBE 1968-2007.
Give a car more power and it goes faster on the straights,
make a car lighter and it's faster everywhere. Colin Chapman.
|
|
Total posts: 54
Last post: Jan 21, 2020 Member since:Jan 23, 2015
|
Cars in Garage: 0
Photos: 0 WorkBench Posts: 0 |
|
|
Total posts: 41
Last post: Apr 2, 2024 Member since:Sep 11, 2013
|
Cars in Garage: 0
Photos: 0 WorkBench Posts: 0 |
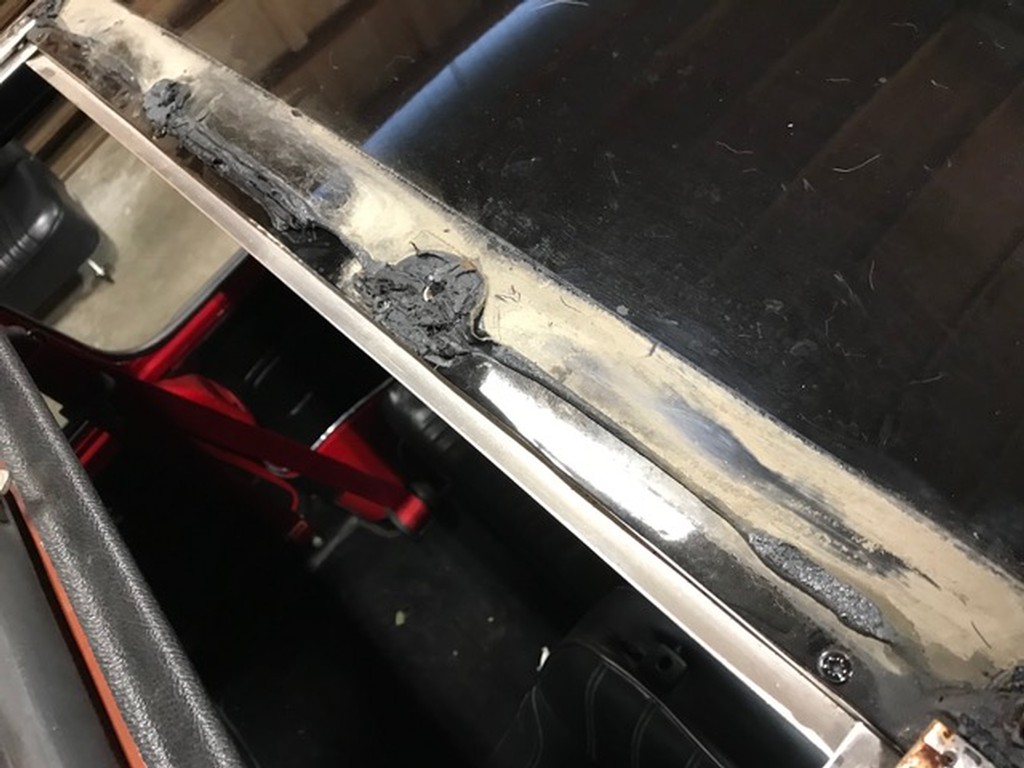
Sizing it up as a DIY project l’ve viewed what I found online and decided to give it a shot. Windows are out and making a list of whats needed. Mine has a sunroof which will add a few challenges. First of which is trying to remove the rear interior sunroof trim piece. After removing the 4 screws it remains solidly in place. Welcome any tips and suggestions towards a successful result.
Thanks


